The Installation Process of Automotive Paint Protection Film: What to Expect
Every car enthusiast knows the pain of seeing their vehicle's paint chip or fade due to daily drives and harsh weather. To protect this valuable asset, many turn to Paint Protection Film (PPF), a clear shield designed to keep your car looking pristine. But before rushing into this decision, it’s essential to understand what goes into the installation process. One of the first dilemmas you’ll face is whether to opt for professional help or take on a DIY project. Each choice has its own set of benefits and drawbacks, making it crucial to weigh them carefully.
Professional vs. DIY Installation
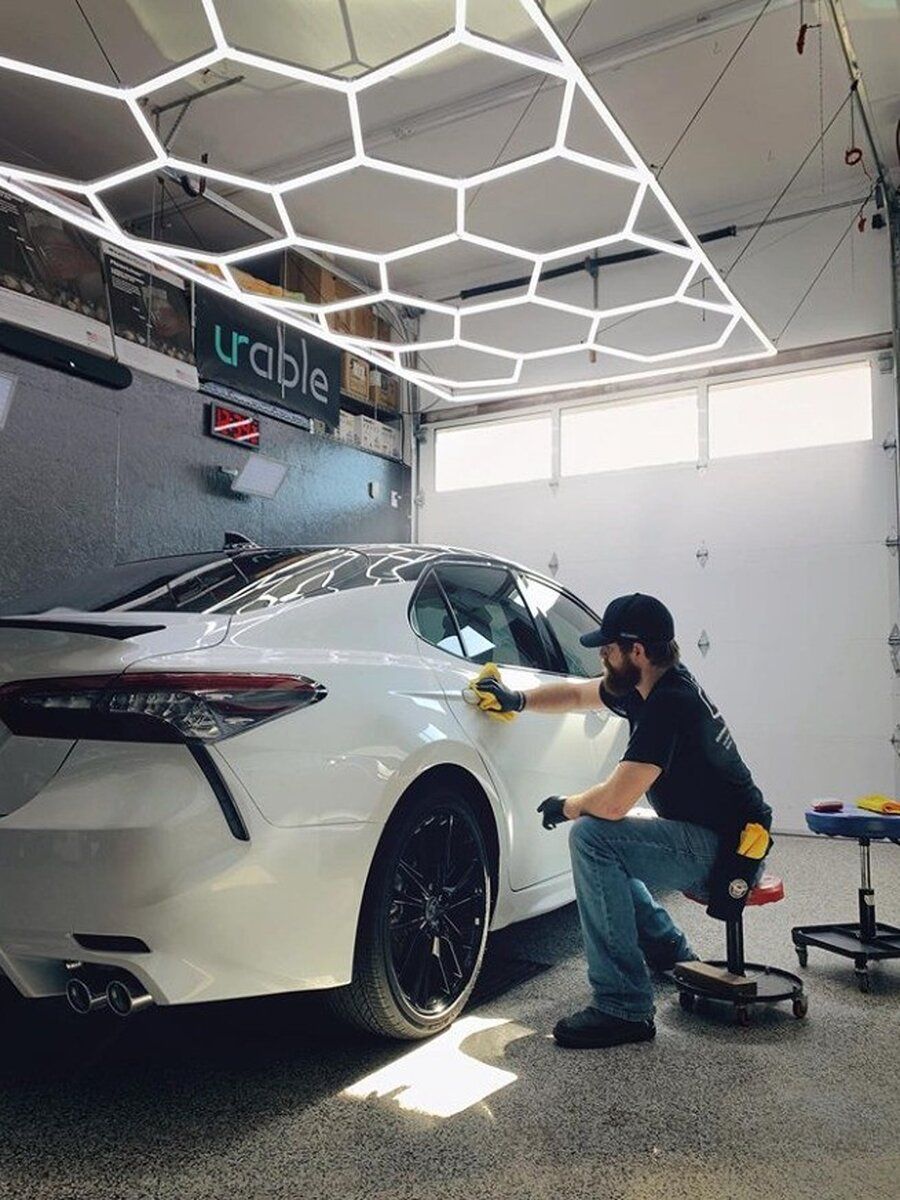
Opting for professional paint protection film installation has numerous advantages that can significantly improve the outcome. For one, precision is paramount. Certified installers have honed their skills through extensive training and practice, allowing them to apply the film seamlessly. This training ensures that they know how to avoid common pitfalls, such as bubbles and wrinkles—issues that can derail the effectiveness of the protection. Furthermore, these professionals come equipped with specialized tools that make the application process smoother, leading to a final look that often exceeds expectations.
However, it's essential to consider some drawbacks when thinking of professional installation. Cost tends to be the most glaring issue. Prices typically range from $500 to $2000, depending largely on your vehicle and the quality of the film used. This hefty price tag can deter many car enthusiasts, especially those on a budget. In addition to financial considerations, some customers report long wait times for scheduling appointments. If you're eager to get the job done quickly, this delay may be an annoying hurdle.
On the flip side, there's the enticing world of DIY installation. With kits available for just $60 to $150, it’s an appealing option for those looking to save cash and have a bit of fun in the process. Still, diving into DIY requires certain qualities—namely a steady hand and patience. You’ll also need to ensure a clean environment to mitigate dust and debris from getting trapped under the film.
While going the DIY route can certainly save money, it often comes with its own set of challenges. The key here is not only saving money, but also determining whether you are prepared for potential trial and error throughout the process. Many DIYers find satisfaction in completing tasks themselves, yet others may become frustrated with imperfections that arise due to inexperience.
With an understanding of both avenues available for installation, it's now time to focus on preparing your car's surface properly before applying any paint protection film.
Preparing the Surface
A clean and smooth surface is essential for a flawless PPF application. Not only does it enhance the aesthetic appeal, but it also ensures that the film adheres correctly without air bubbles or imperfections underneath. We must approach each stage of preparation with care, as neglecting a single detail can jeopardize the entire installation.
Step-by-step guide to preparing the surface
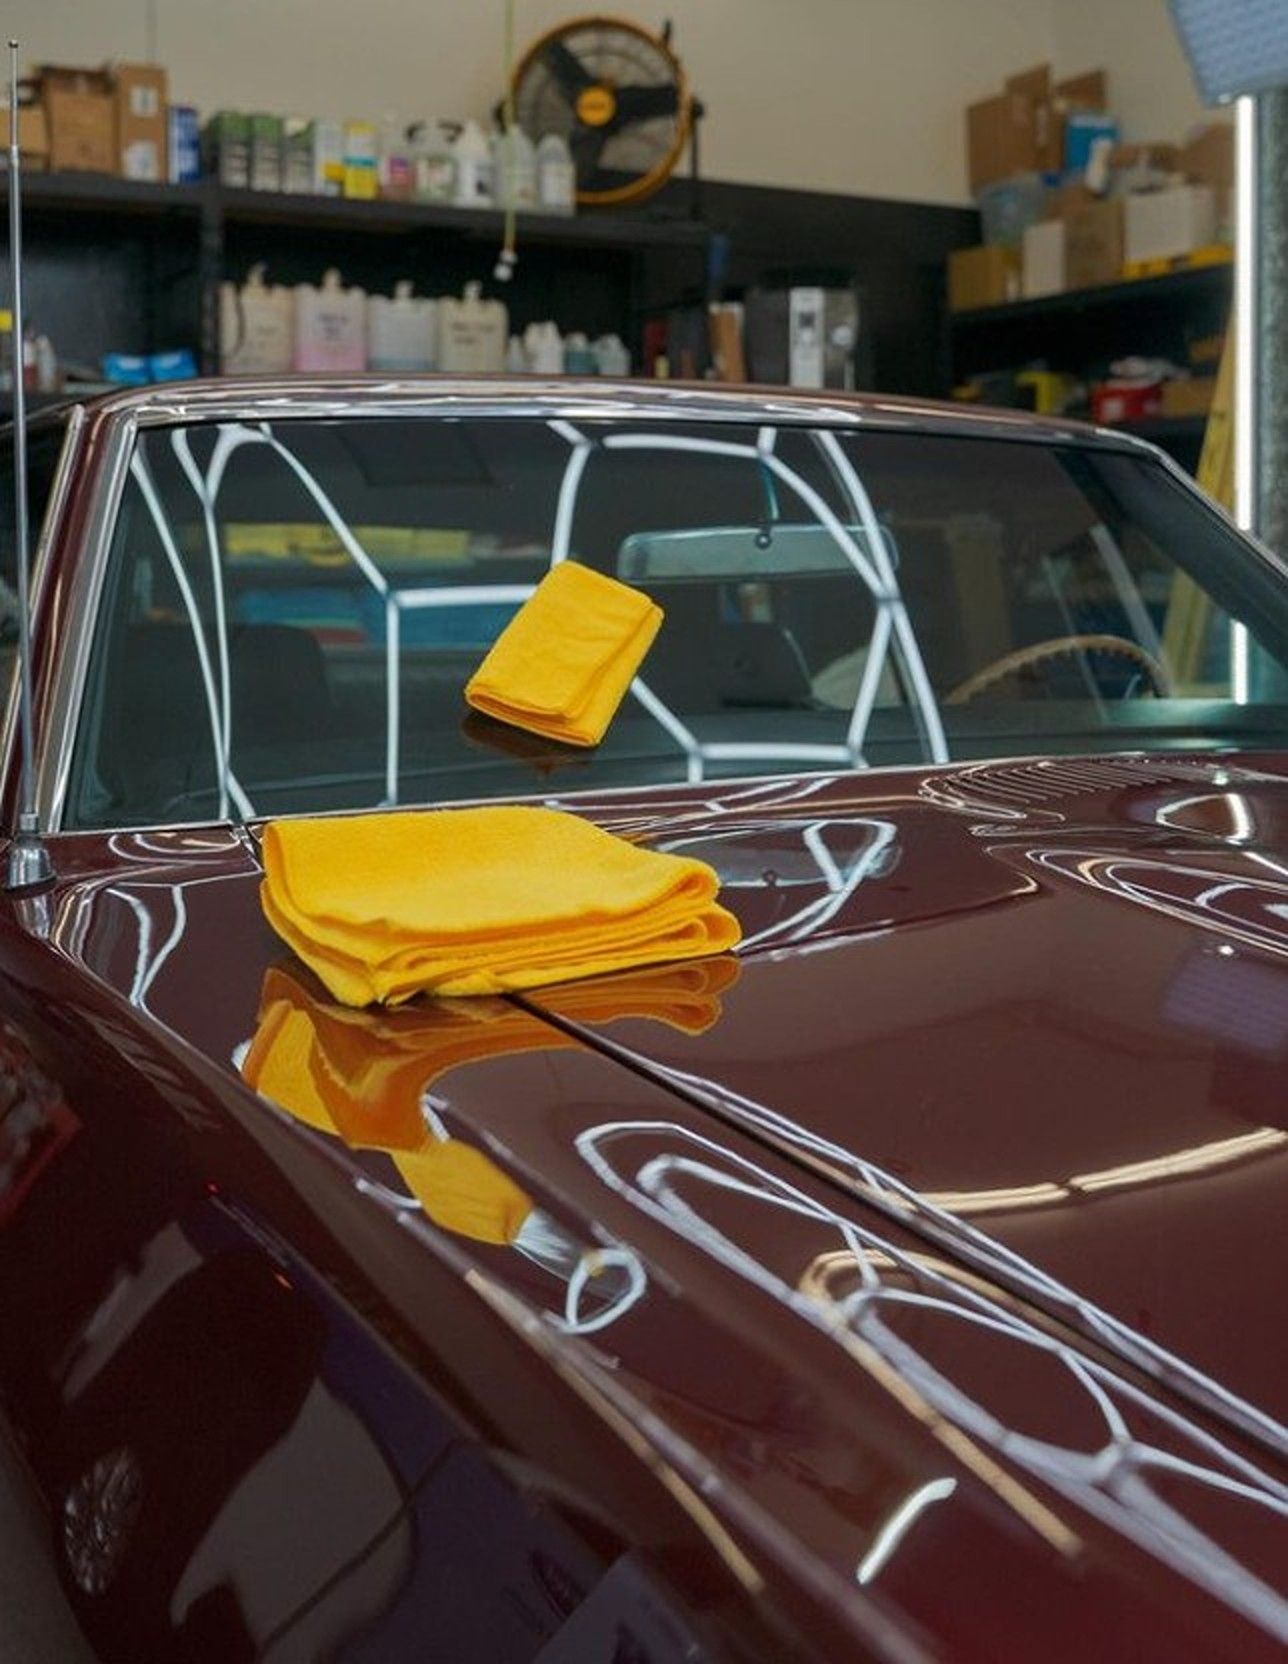
Cleaning the Vehicle
The journey begins with washing your car thoroughly using a mild detergent and water. Pay attention to all areas—this means cleaning not just the body but also the edges and crevices where dirt and grime tend to accumulate. The goal here is clear: removing every speck of dirt, grease, and debris so that no particles become trapped under the film during application. A clean surface acts as a foundation for success, similar to how a painter prepares a canvas before applying color.
Decontaminating the Surface
After ensuring your vehicle is clean, the next step involves decontaminating the paint's surface. This is where a clay bar comes into play. The clay bar is excellent for lifting embedded contaminants that remain even after washing—things like tree sap, industrial fallout, or road tar. By gently rubbing the clay across the surface with a lubricant, you create an ultra-smooth finish ideal for PPF application. Skipping this step could lead to imperfections in the film that detract from its protective qualities.
Inspecting for imperfections
Inspect the surface closely for any dents or paint chips. Take your time here; use a bright light if needed to illuminate any flaws. It’s important to remember that PPF will not hide these imperfections; instead, it may accentuate them by making them more noticeable once installed. If you encounter any issues during your inspection, take the necessary steps to remedy them before proceeding.
Alcohol Wipe Down
Lastly, finish your preparation by wiping down the entire area where you will apply the film with alcohol. Mix isopropyl alcohol with water in a spray bottle and wipe down surfaces with a clean microfiber cloth. This final step ensures that no oily residues remain on the paint, which can hinder proper adhesion of the film. Experts recommend never skipping this part; it greatly mitigates potential adhesion problems down the line.
Applying the Film
Proper application is crucial for ensuring that the PPF not only enhances your vehicle's appearance but also maximizes its protective capabilities over time.
Step-by-Step Film Application
Measuring and Cutting
The first step is all about precision. When measuring each section of your car, it’s essential to do so accurately before cutting the film. A tape measure can work wonders here—mark the required dimensions on the film itself to minimize waste and ensure a snug fit. This reduces the likelihood of overlaps or unsightly gaps that could compromise the film’s effectiveness.
Activating the Adhesive
Next, we move on to activating the adhesive, which is a game-changer in terms of maneuverability. You’ll want to prepare a mixture of water and baby shampoo in a spray bottle—this is key for achieving an optimal setup. Spray generously on both the adhesive side of the film and the car surface; this allows you to reposition the film as needed without panic. Think of this step as giving yourself a little leeway during installation.
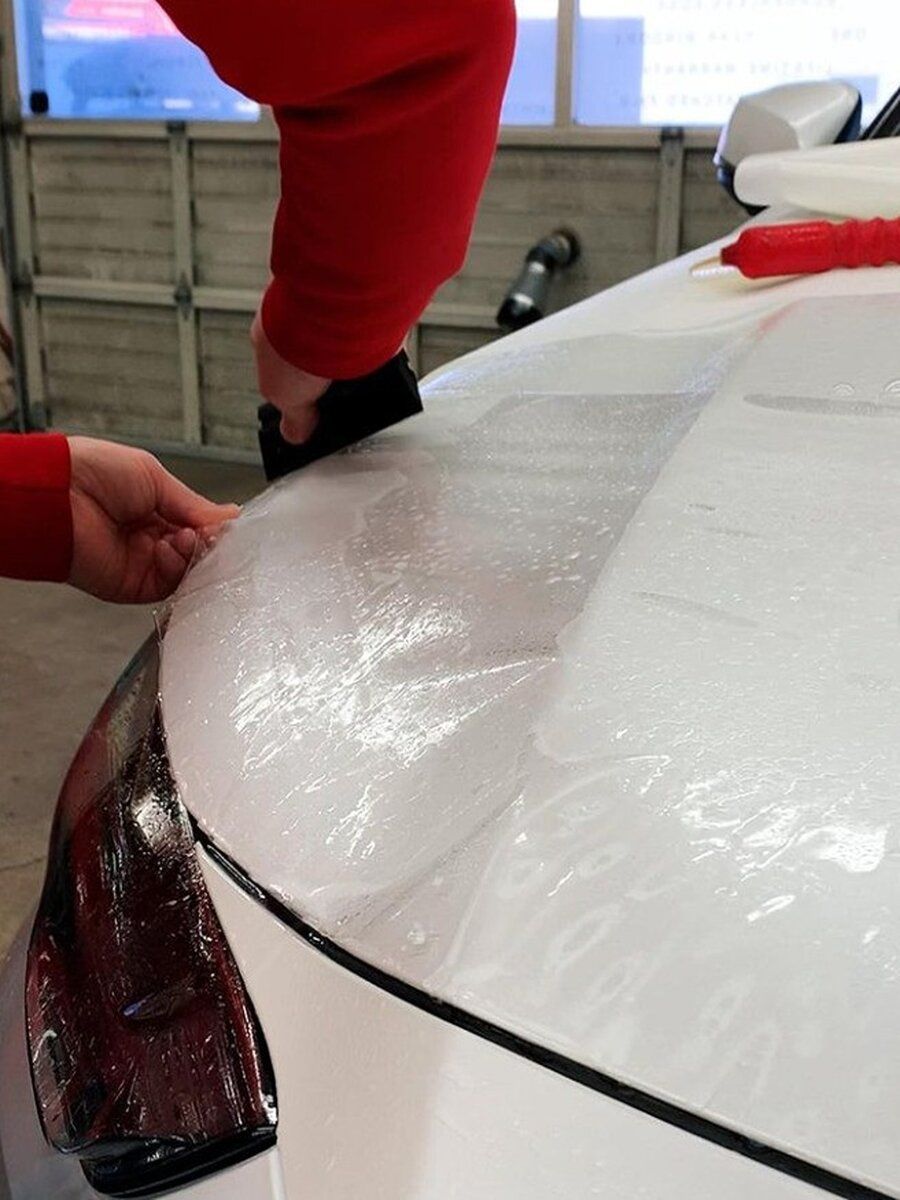
Placing the Film
Now comes one of the most gratifying parts—placing the film in your car. It involves careful alignment with existing edges to create a seamless look. This is where patience pays off. Using a squeegee, gently push out any liquid trapped beneath the film while ensuring that it adheres firmly to the surface. Many seasoned installers prefer starting from the center and working their way outwards; this technique helps avoid wrinkles. Aligning carefully at this stage will impact not just aesthetics but also durability.
Final Adjustment
Once everything looks smooth and aligns perfectly, it's time for trimming any excess film using a sharp blade—a critical finishing touch. Ensure that you’re using a fresh blade to avoid jagged edges that could lift over time. Go slowly here; neatness counts! As you trim, make sure all edges are smooth and secure against your vehicle’s surface, preventing any peeling down the road. However, even with meticulous execution, you might encounter challenges with bubbles or wrinkles that require special attention for an impeccable outcome.
Handling Bubbles and Wrinkles
When applying paint protection film (PPF), encountering bubbles and wrinkles is a common challenge, yet they don't have to compromise the quality of your installation. To successfully handle these imperfections while ensuring your PPF looks as nearly as new, we need to utilize specific techniques that address these issues effectively.
Techniques for Smooth Application
One of the most critical steps in preventing bubbles and wrinkles right from the start is to use a heat gun or hairdryer before and during the application. Warming the film makes it more pliable, allowing it to adhere better to the curves and contours of your vehicle. As you apply heat, move the device in circular motions to avoid concentrating too much warmth on one spot, which could lead to damage. A gentle approach ensures that the film remains flexible and manageable throughout the installation process.
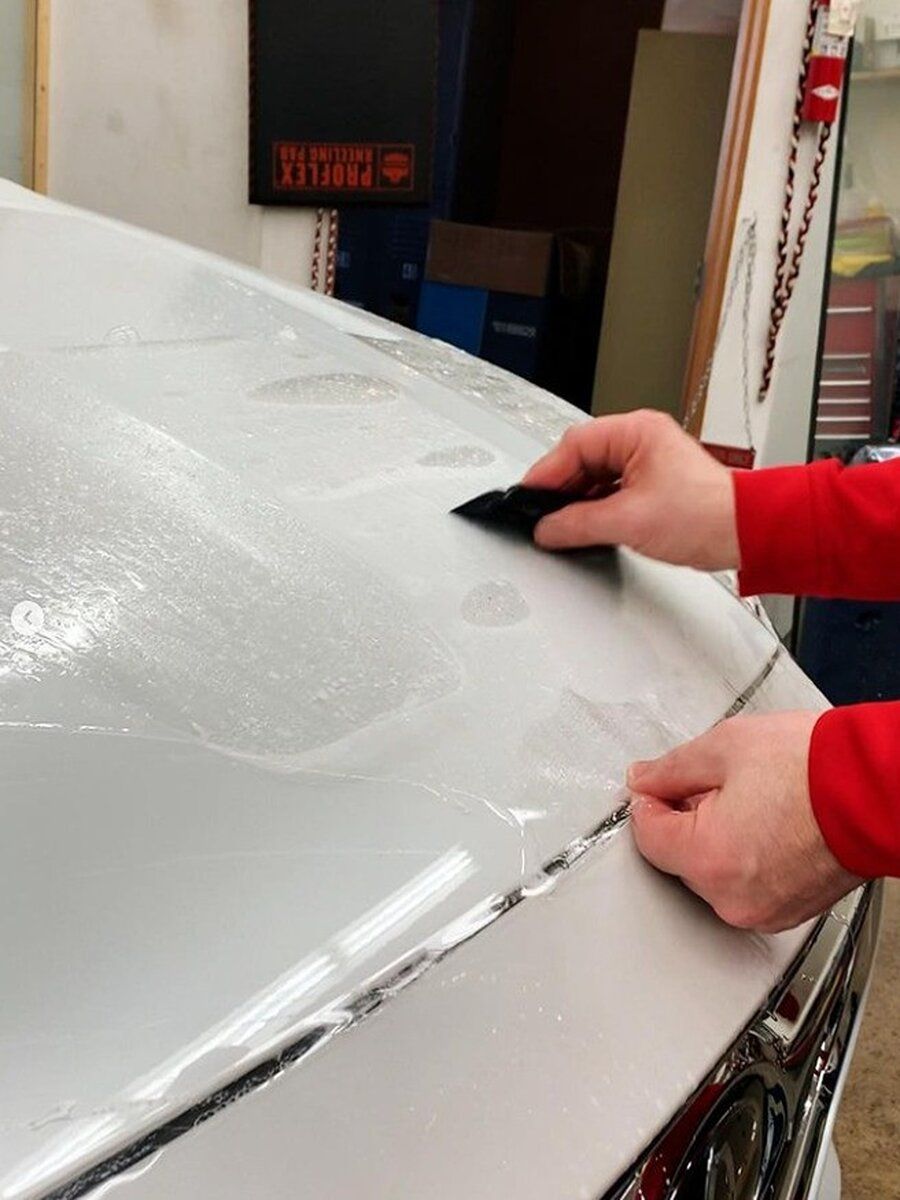
With a well-heated surface, the next step involves using a plastic squeezer. Use this essential tool to address any existing bubbles. Place the squeegee's edge against the bubble, and apply consistent pressure while pushing toward the edges. It’s important not to press too hard; maintaining a delicate balance helps prevent additional creases or indentations in the film.
Needle Puncture
However, some stubborn bubbles are persistent even after squeegeeing. For these tricky imperfections, a fine needle can be a game changer. Simply puncture the center of the stubborn bubble gently, then follow up with your squeezer to push out the trapped air. This technique minimizes any visible impact while ensuring an airtight seal around the bubble’s perimeter.
After puncturing, remember to reheat and smooth over that area once more to achieve a seamless appearance. The heat will allow the film to conform well around any puncture marks, making them less noticeable.
Having addressed these common challenges, it's time to explore how to keep your paint protection film in top condition for lasting protection.
Post-Installation Maintenance
After you've had the paint protection film applied, creating a consistent maintenance routine is crucial. One of the simplest yet most effective things you can do is establish a regular cleaning schedule. Aim to wash your vehicle every two weeks using a pH-neutral car shampoo. It's important to steer clear of harsh chemicals or abrasive cleaners that might damage the film. A gentle wash not only keeps the surface clean but also maintains its protective qualities.
Regular Cleaning Routine
As you wash your car, focus on using a soft microfiber cloth to gently wipe down areas protected by PPF. Despite the temptation to use a commercial wax immediately after installation, refrain from doing so as it may disrupt the film's adhesion.
Inspect Regularly
During your regular washes, take a moment to inspect the film meticulously for any signs of lifting or peeling around the edges. These areas can be particularly vulnerable, and catching any issues early will save you from costly repairs down the line. If you notice any lifting, address it promptly—whether by consulting professionals or using heat to help reapply sections if you're comfortable doing so.
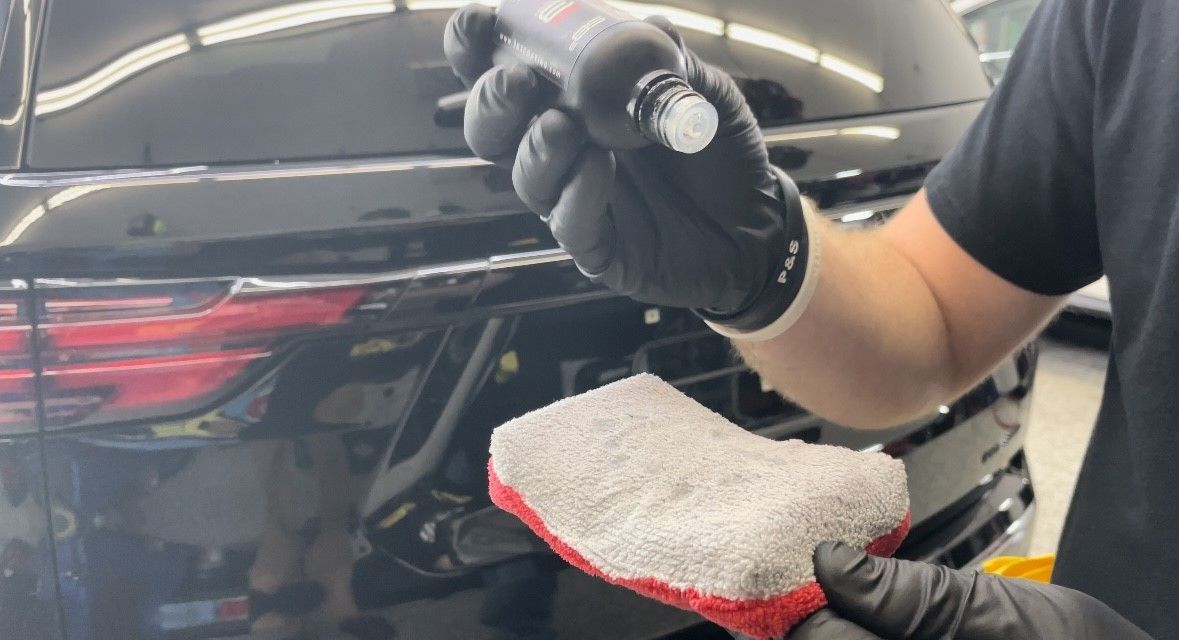
Apply a sealant.
Consider applying a specific PPF sealant regularly to enhance its longevity and boost shine. Many brands on the market today provide excellent options that can seamlessly integrate into your maintenance routine, giving you added assurance that your investment is well protected.
These simple practices form an effective maintenance routine that not only prolongs the life of your PPF but ensures that your vehicle continues to look showroom-ready.
With proper maintenance in place, understanding how long these protective measures last and what aesthetic changes to expect will further elevate your driving experience.
Expectations for durability and appearance.
The durability of PPF is one of its most notable benefits. High-quality films can last with proper maintenance, effectively warding off the usual culprits that threaten your vehicle's finish—road debris and harmful UV radiation. A standout option in this realm is films with self-healing properties, which can repair minor abrasions through exposure to sunlight or heat. This means that even if you happen to nick your film while parking too close to a curb, given a little time and warmth, it can often return to its original flawless state.
Durability Factors
Several factors contribute to the durability of PPF, including material quality, installation precision, and environmental conditions. Well-installed, high-end products not only resist damage but also maintain their integrity when faced with elements like snow, rain, or intense sun exposure. Your choice matters; lower-quality options simply don’t possess the same resilience against wear and tear.
Appearance Over Time
While premium PPF should remain clear over time, it’s essential to recognize that not all films endure equally. Inferior products may yellow or become cloudy as they age, tarnishing the pristine look of your vehicle's paint underneath. Poor installation practices or insufficient post-installation care can exacerbate this deterioration.
Setting realistic expectations
Understanding the durability and appearance expectations of PPF will better equip you to make informed investment decisions. It’s not just about choosing the right product; it's also about maintaining it properly to ensure it continues looking its best for years to come.
With awareness of how durability and quality intertwine with aesthetic expectations, you can confidently select a PPF solution that aligns with both your needs and desires for vehicle protection.
In summary, it is essential to consider both the quality of the paint protection film and your commitment to regular maintenance for optimal results. With the right choice, you’ll safeguard your vehicle’s finish and promote its longevity effectively.
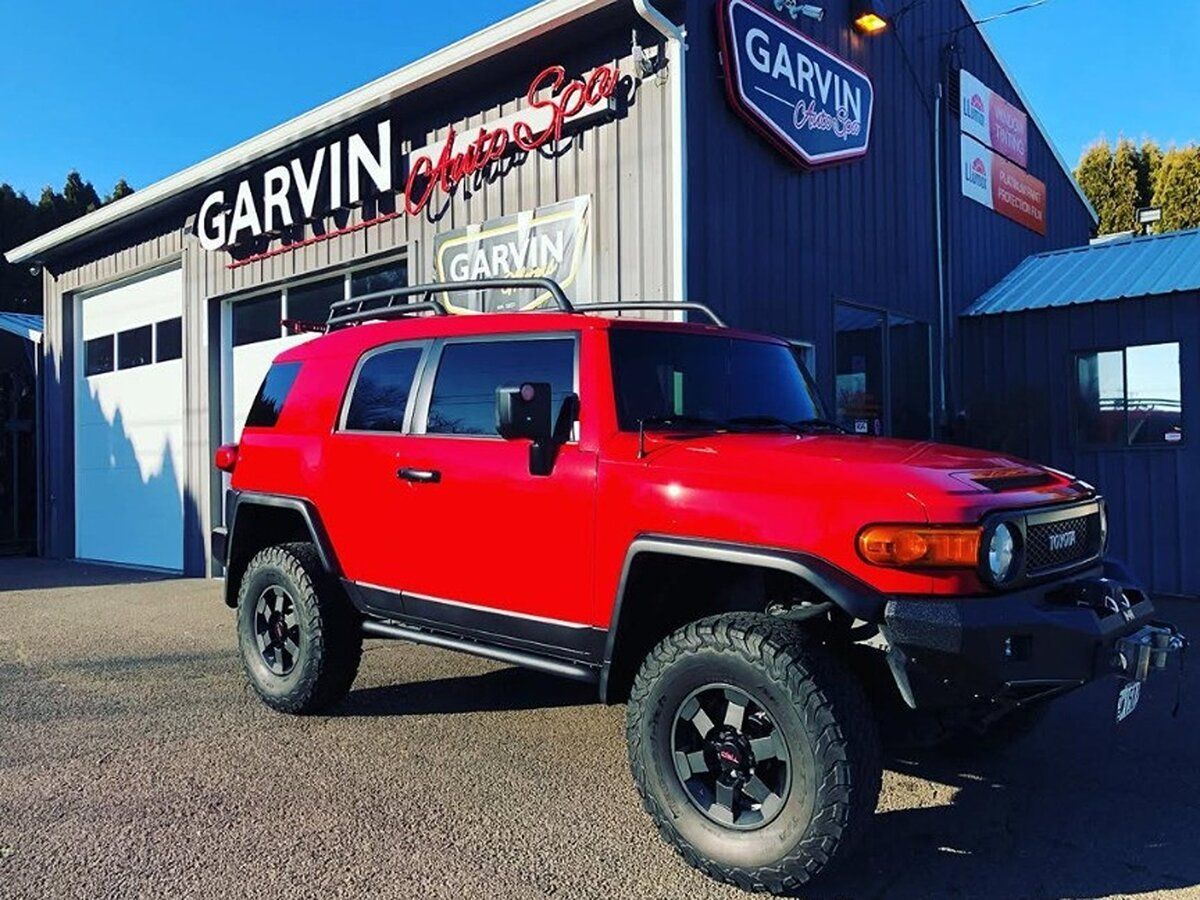
Why choose Garvin Auto Spa for Paint Protection Film?
At Garvin Auto Spa, we understand that your vehicle is more than just a mode of transportation—it’s a statement of your style, a representation of your investment, and often a personal passion. Our team specializes in the meticulous application of premium paint protection films, designed to preserve your vehicle’s finish from unsightly chips and environmental damage. What sets
Garvin Auto Spa
apart is not just the quality of the products we use but the precision, care, and attention to detail that goes into every installation. Book now!

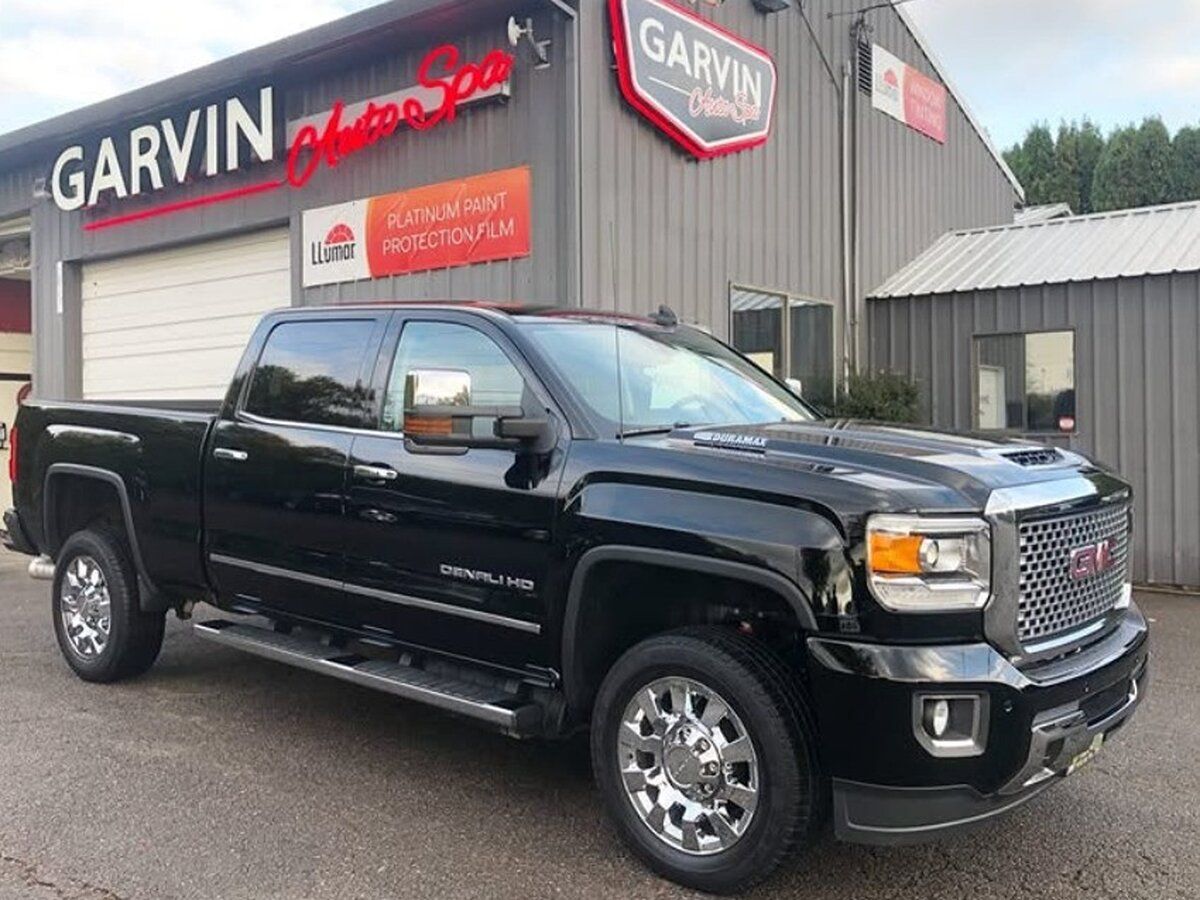
ABOUT US
Yamhill County's Vehicle Protection & Appearance Experts!
Garvin Auto Spa first opened its doors in 2008 as Yamhill County, Oregon’s vehicle protection and aesthetic preservation specialists. With skills verified by the International Detailing Association (IDA), we are proficient in the rejuvenation process of every make and model vehicle, no matter if it is a daily driver or one purchased for recreation. For comprehensive vehicle care and protection with self-healing clear bras, hydrophobic ceramic coatings, interior and exterior decontamination, and window tinting services, Garvin Auto Spa is your one-stop solution to it all!
QUICK LINKS
CONTACT US
PHONE: 503-472-GARV
EMAIL: adam@garvinauto.com
HOURS OF OPERATION
Tuesday - Friday: 8:00 AM - 5:00 PM
Saturday: By Appointment Only
Sunday & Monday: Closed
SOCIAL MEDIA
Garvin Auto Spa was designed by the team at Detailers Roadmap, a platform developed for detailing operators across the globe.